
Help, Updates and Support
This chapter describes the built-in user guide, the citation dialog, the update check, the bug-report tool and the version information.
The built-in user guide
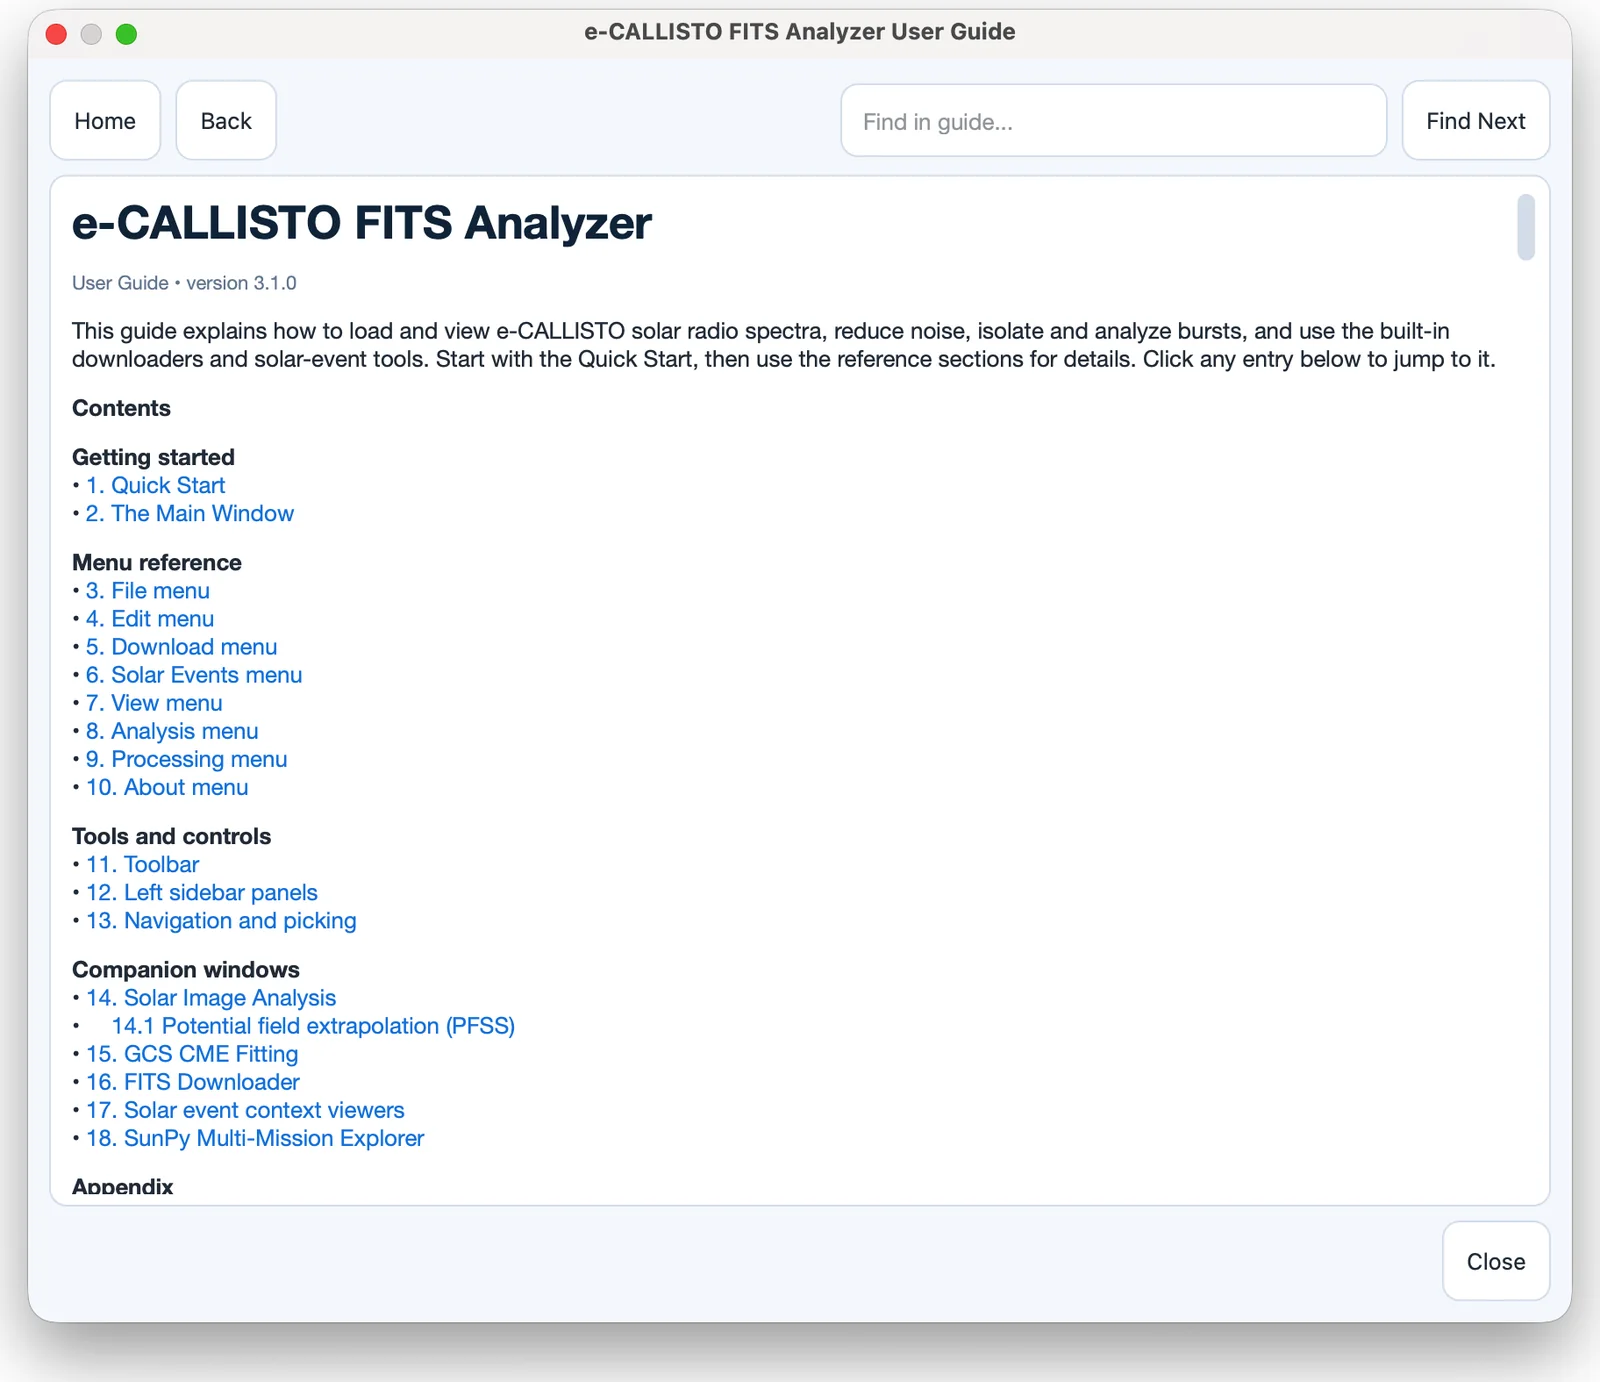
Help > User Guide (F1) opens a
condensed version of this guide in a separate window (Figure 4.1). The guide follows the
application theme and offers:
a linked table of contents and cross-references between sections;
Home and Back buttons for navigation;
a Find in guide... field with Find Next; and
Close.
The GCS CME Fitting window has its own help, opened with
F1 in that window (Section 20.7).
Citing the software
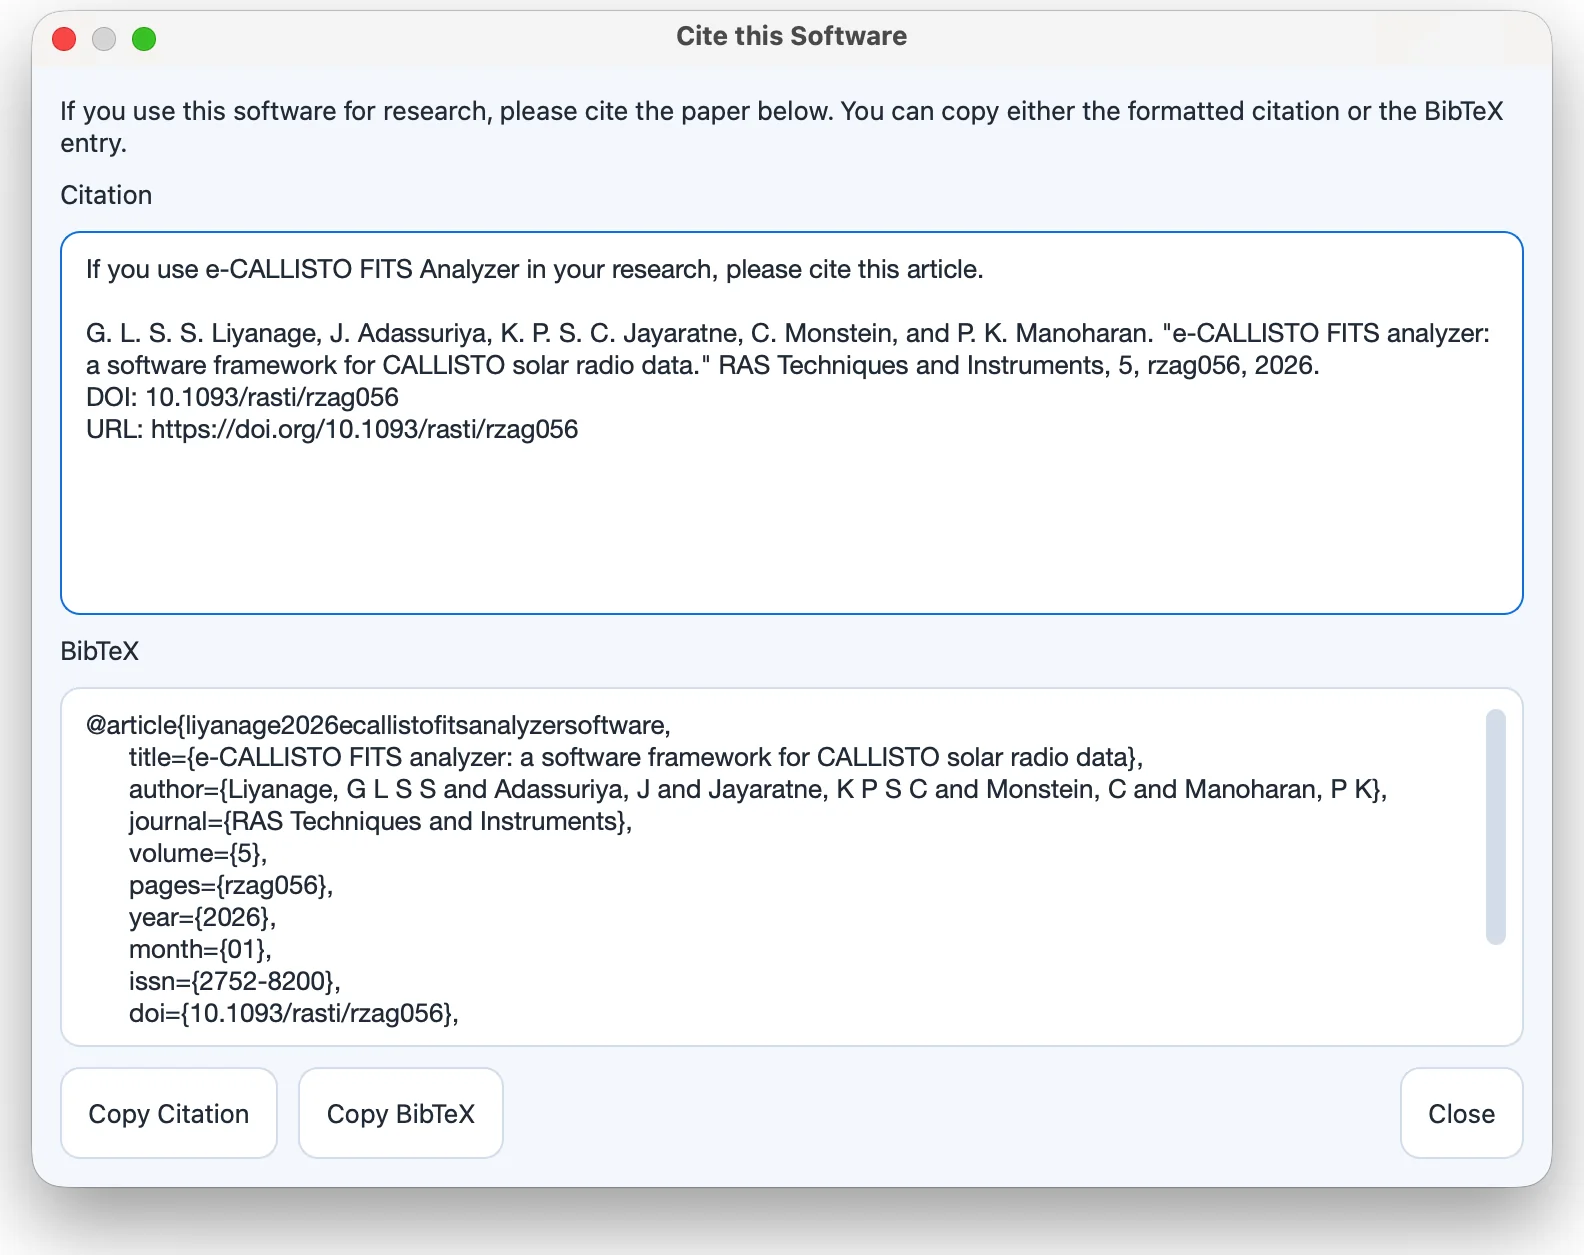
The Cite this Software button at the right end of the toolbar opens the citation dialog (Figure 4.2). It shows the recommended citation and a BibTeX entry, with Copy Citation and Copy BibTeX buttons that place the text on the clipboard. The citation is reproduced in Section 1.6.
Checking for updates
The application checks GitHub for a newer release shortly after it starts and shows the result in the status bar (Updates: checking..., Updates: up to date, or a notice that a new version is available). About > Check for Updates... repeats the check on demand:
if a newer version exists, the dialog shows the current and latest version numbers with a summary of the release notes, and offers to download the installer for your platform to a folder you choose;
if you are up to date, the dialog confirms the installed version;
if the check fails, for example without a network connection, an error message explains why.
Install the downloaded package as described in Chapter 2.
Reporting a bug
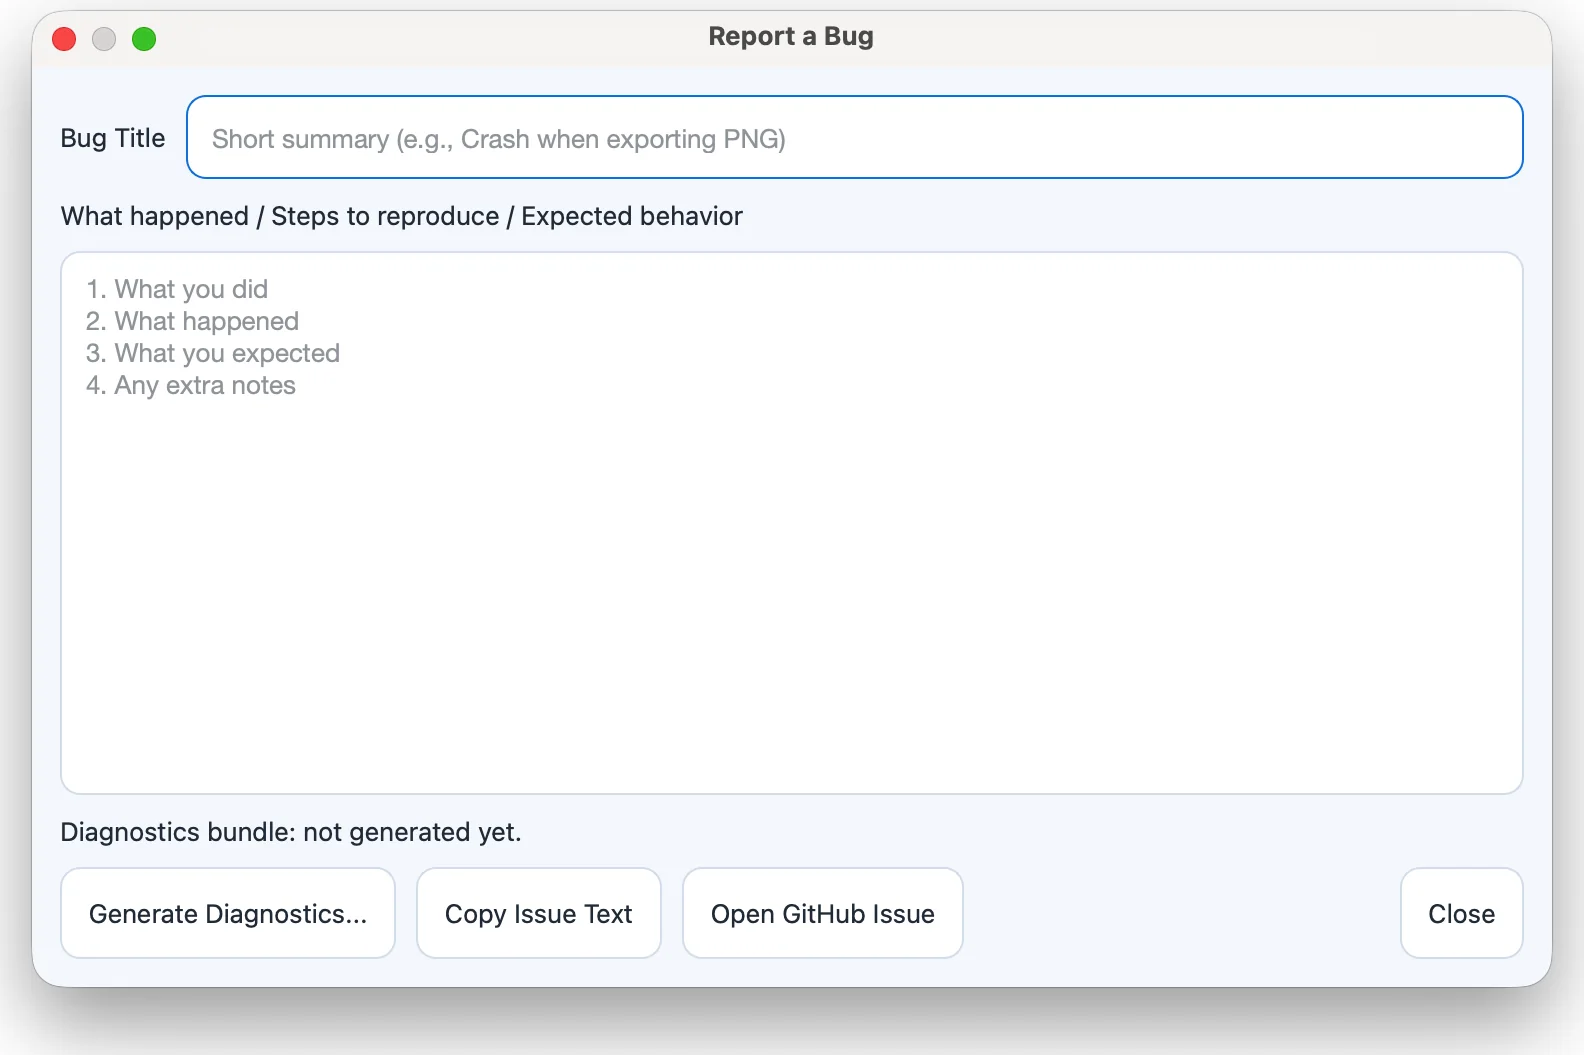
About > Report a Bug... opens the bug-report dialog (Figure 4.3). It contains:
a short summary, for example Crash when exporting PNG.
a free-text description, pre-filled with a template.
creates a ZIP bundle with a summary of the current session (loaded file, plot type, units, color map, combination state and project path), environment information (application version, operating system and Python version), the operation log, the processing and RFI settings, and a structured provenance summary of the loaded data. The path of the bundle is shown below the text.
copies a formatted issue description, including the environment summary, to the clipboard.
opens a pre-filled issue draft on the project’s GitHub page in your web browser, where you can attach the diagnostics bundle before submitting.
Note
Nothing is sent automatically. The issue is created only when you submit it on GitHub. Review the diagnostics bundle before attaching it if your file names or paths are confidential.
About
About > About shows the version number, the developer and the affiliation. The Solar Image Analysis and Maximum Intensities windows have their own About menus with information about those tools.